The Studio
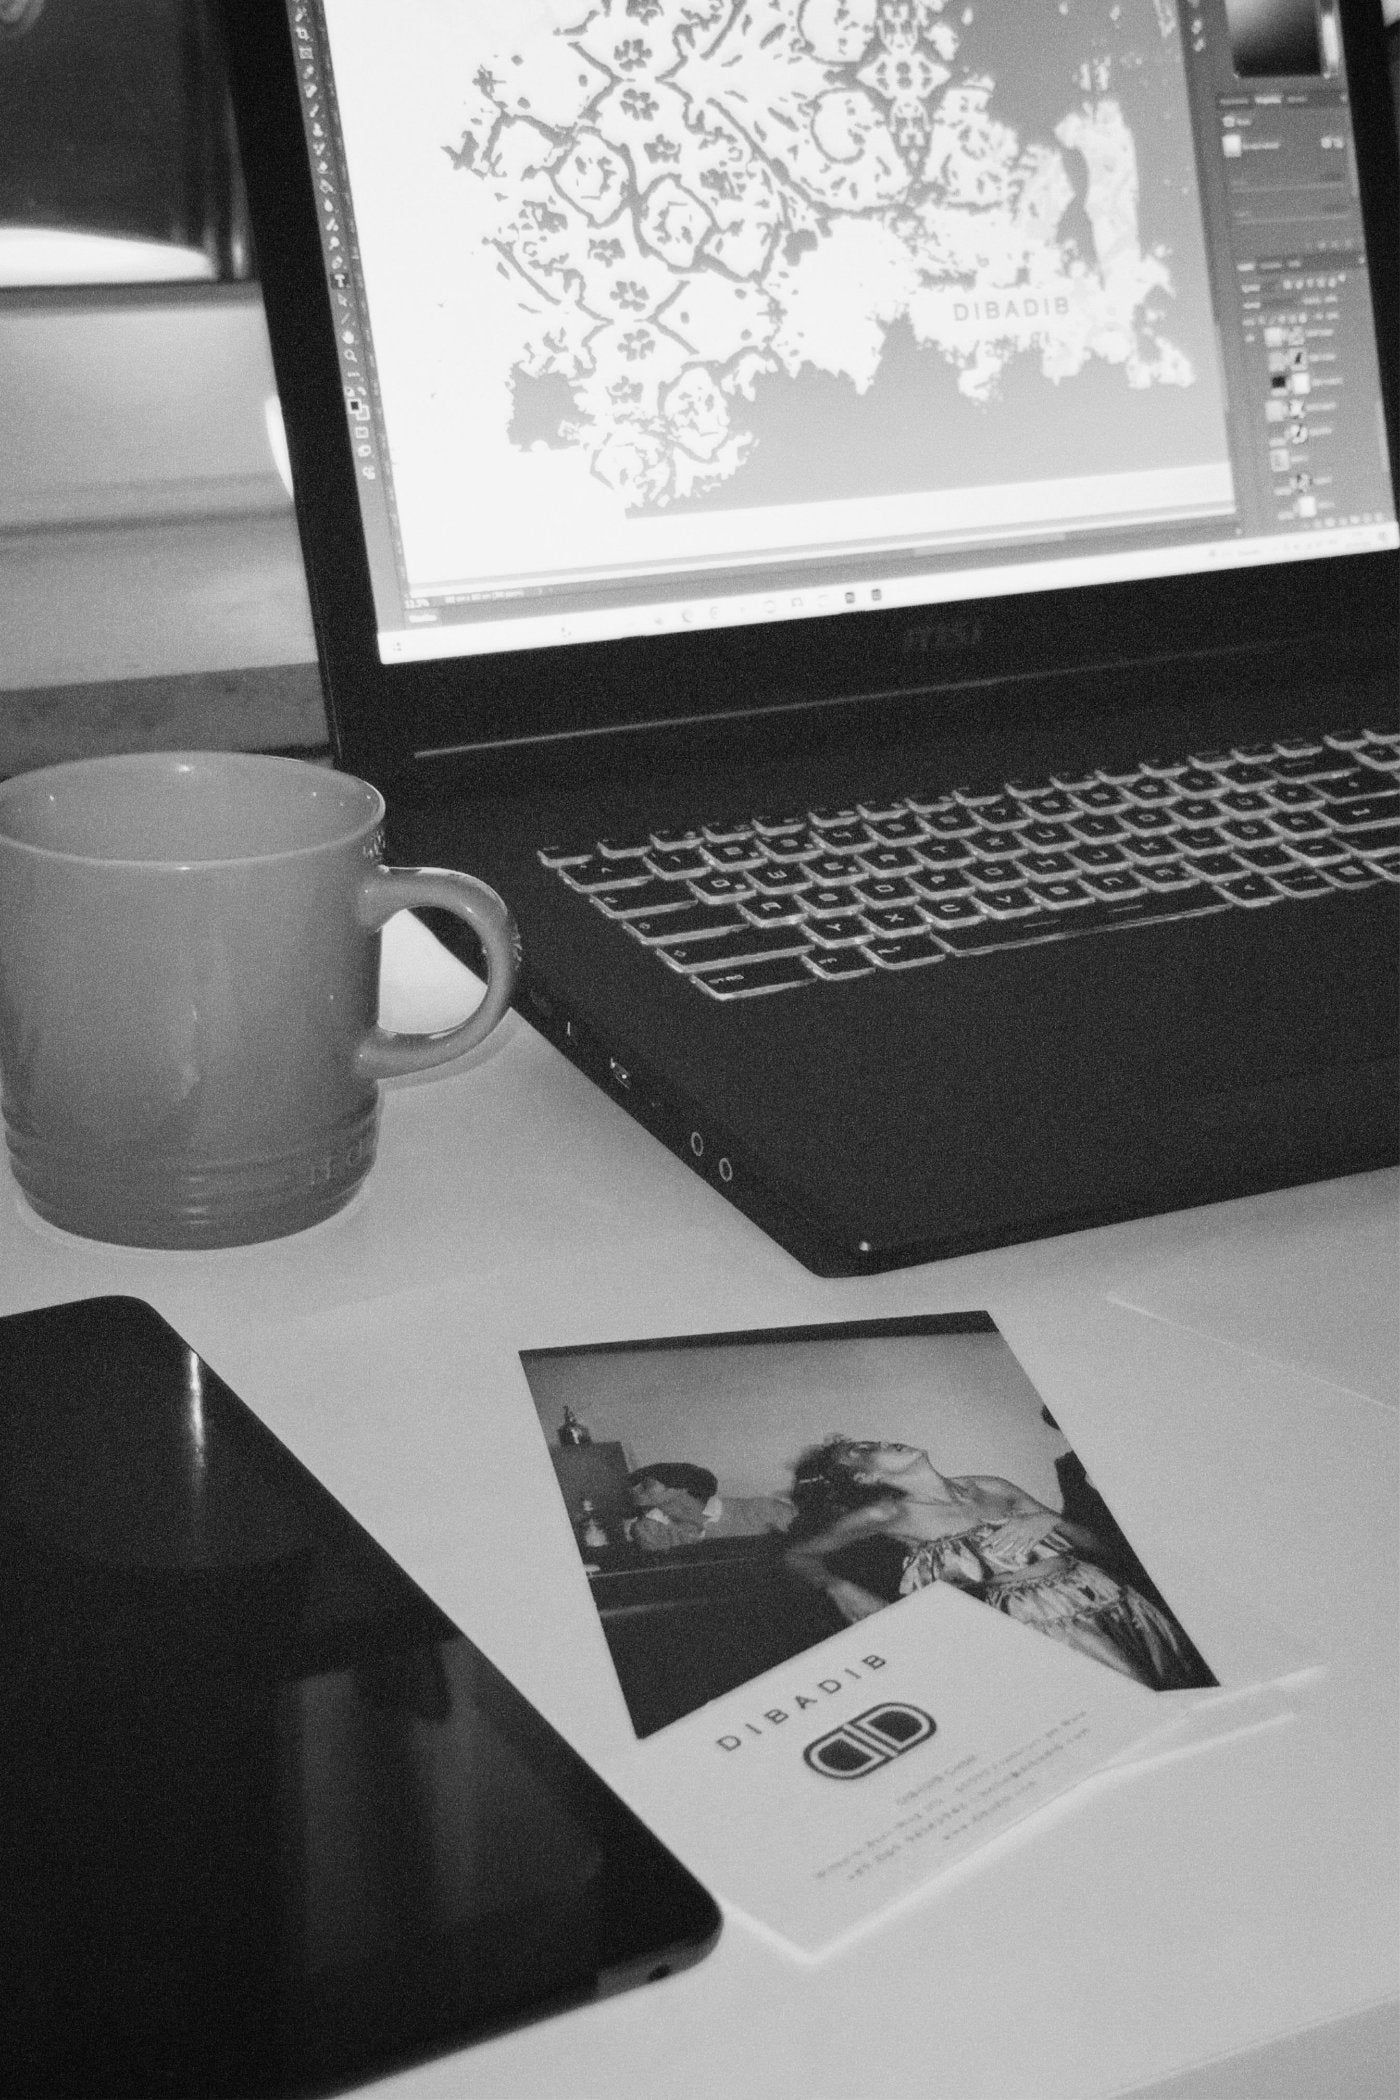
Design Preparation
Creating a high-contrast design that works well with screen printing, ensuring it has clean lines and clear details.
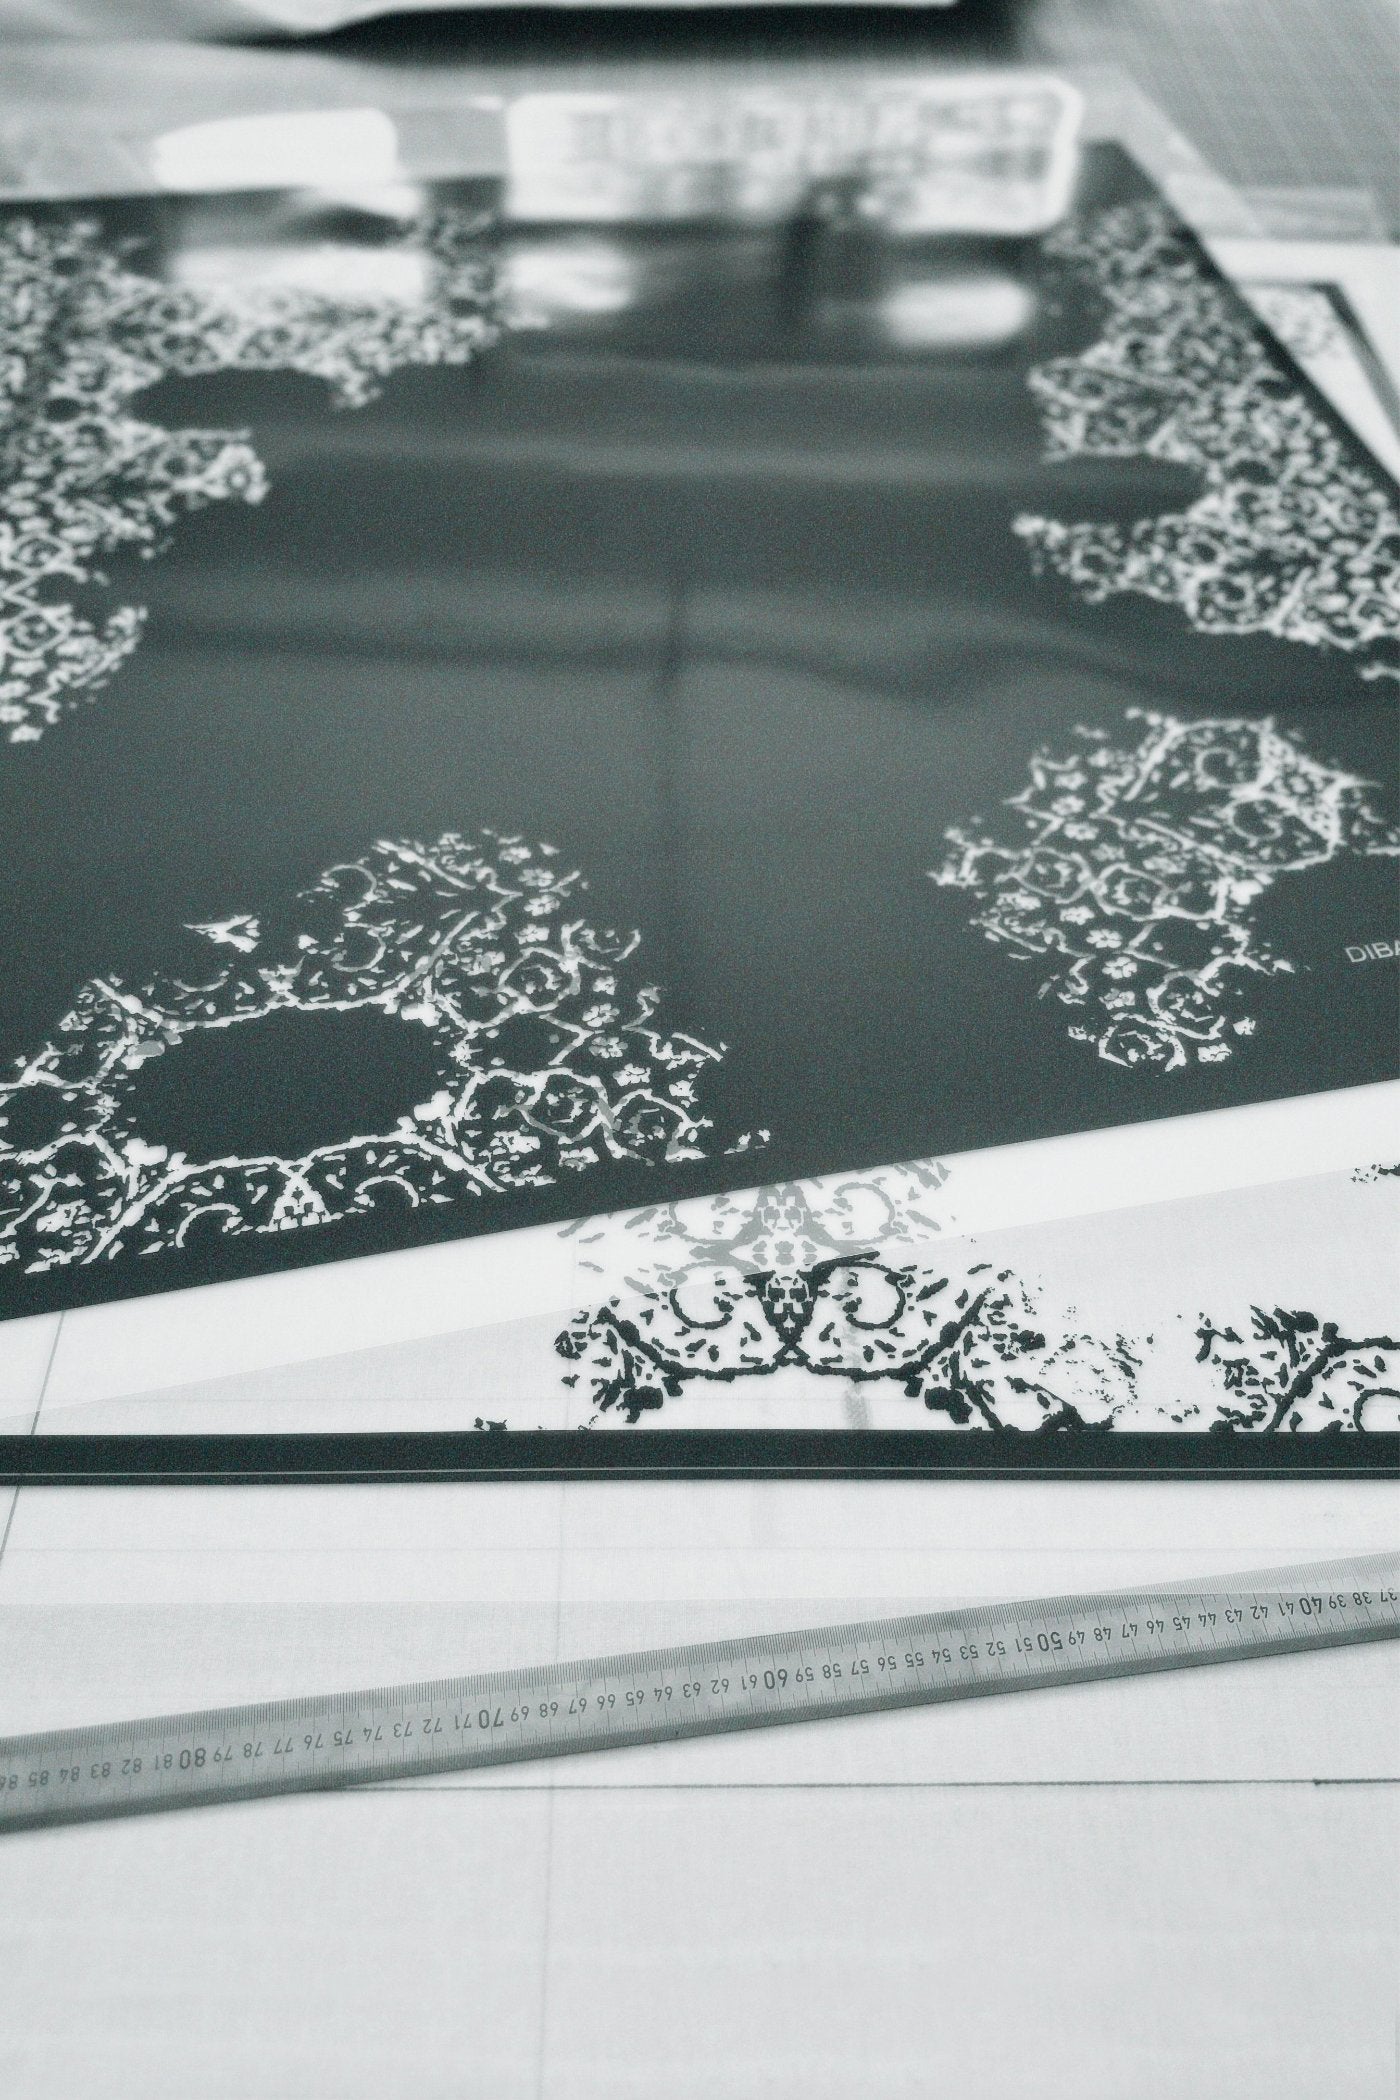
Artwork Transfer to Transparent Film
Printing the finalized design onto a transparent film, which serves as a positive stencil for the screen. This film will block light in the areas where the design appears, ensuring that these sections remain unexposed on the emulsion.
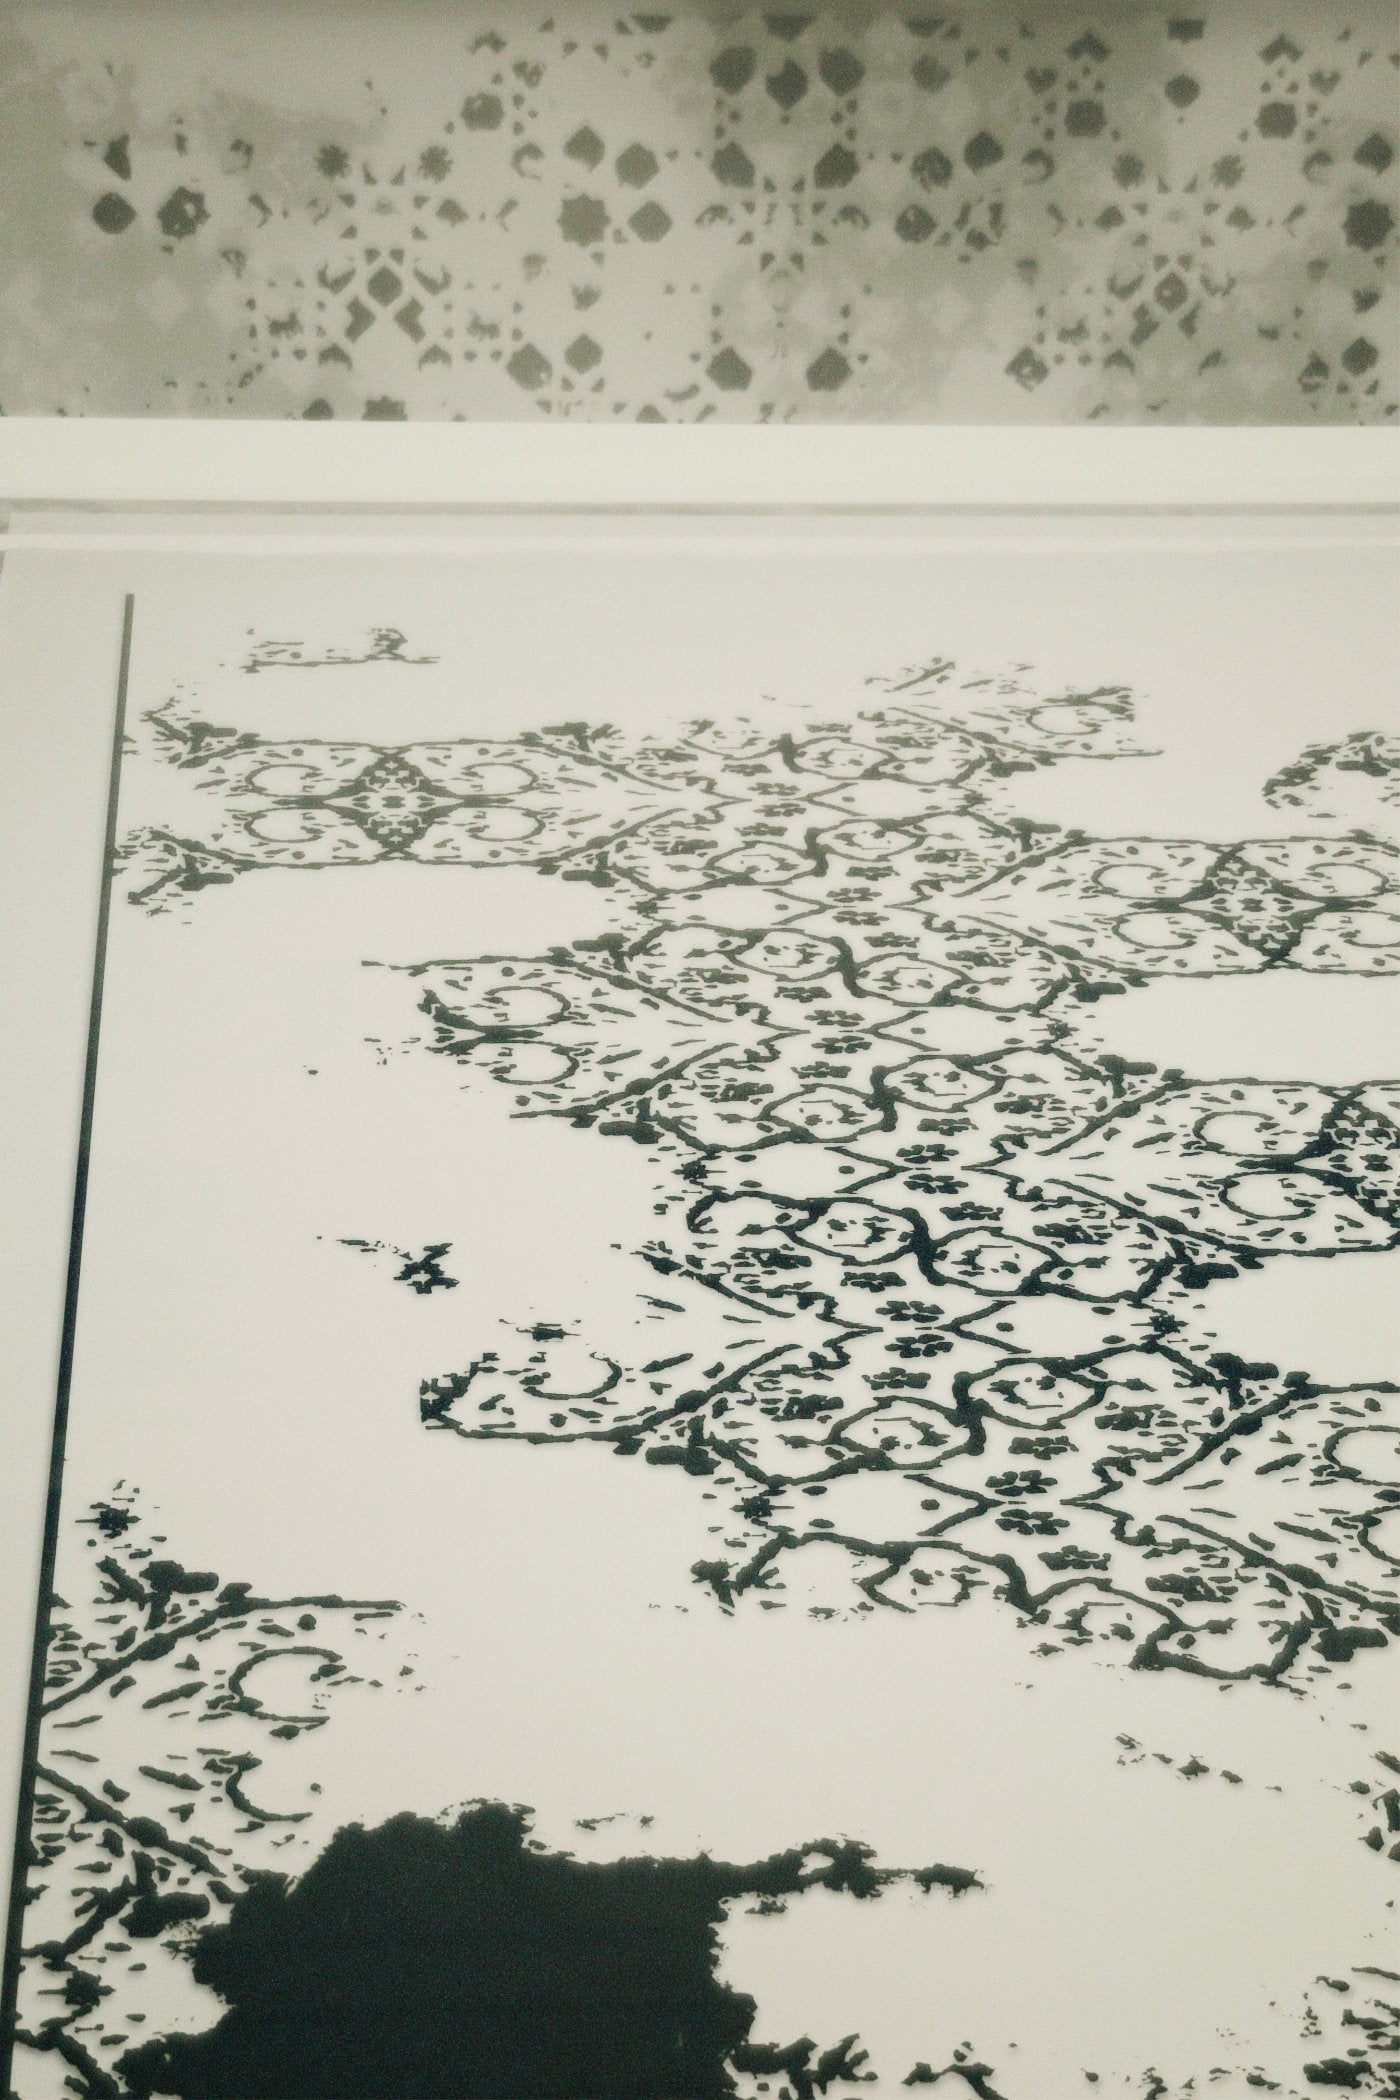
Exposure Setup (Lighting Process)
Positioning the screen coated with light-sensitive emulsion and place the transparent film on top. Expose it to UV light to harden the emulsion, except where the design blocks the light, creating the stencil.
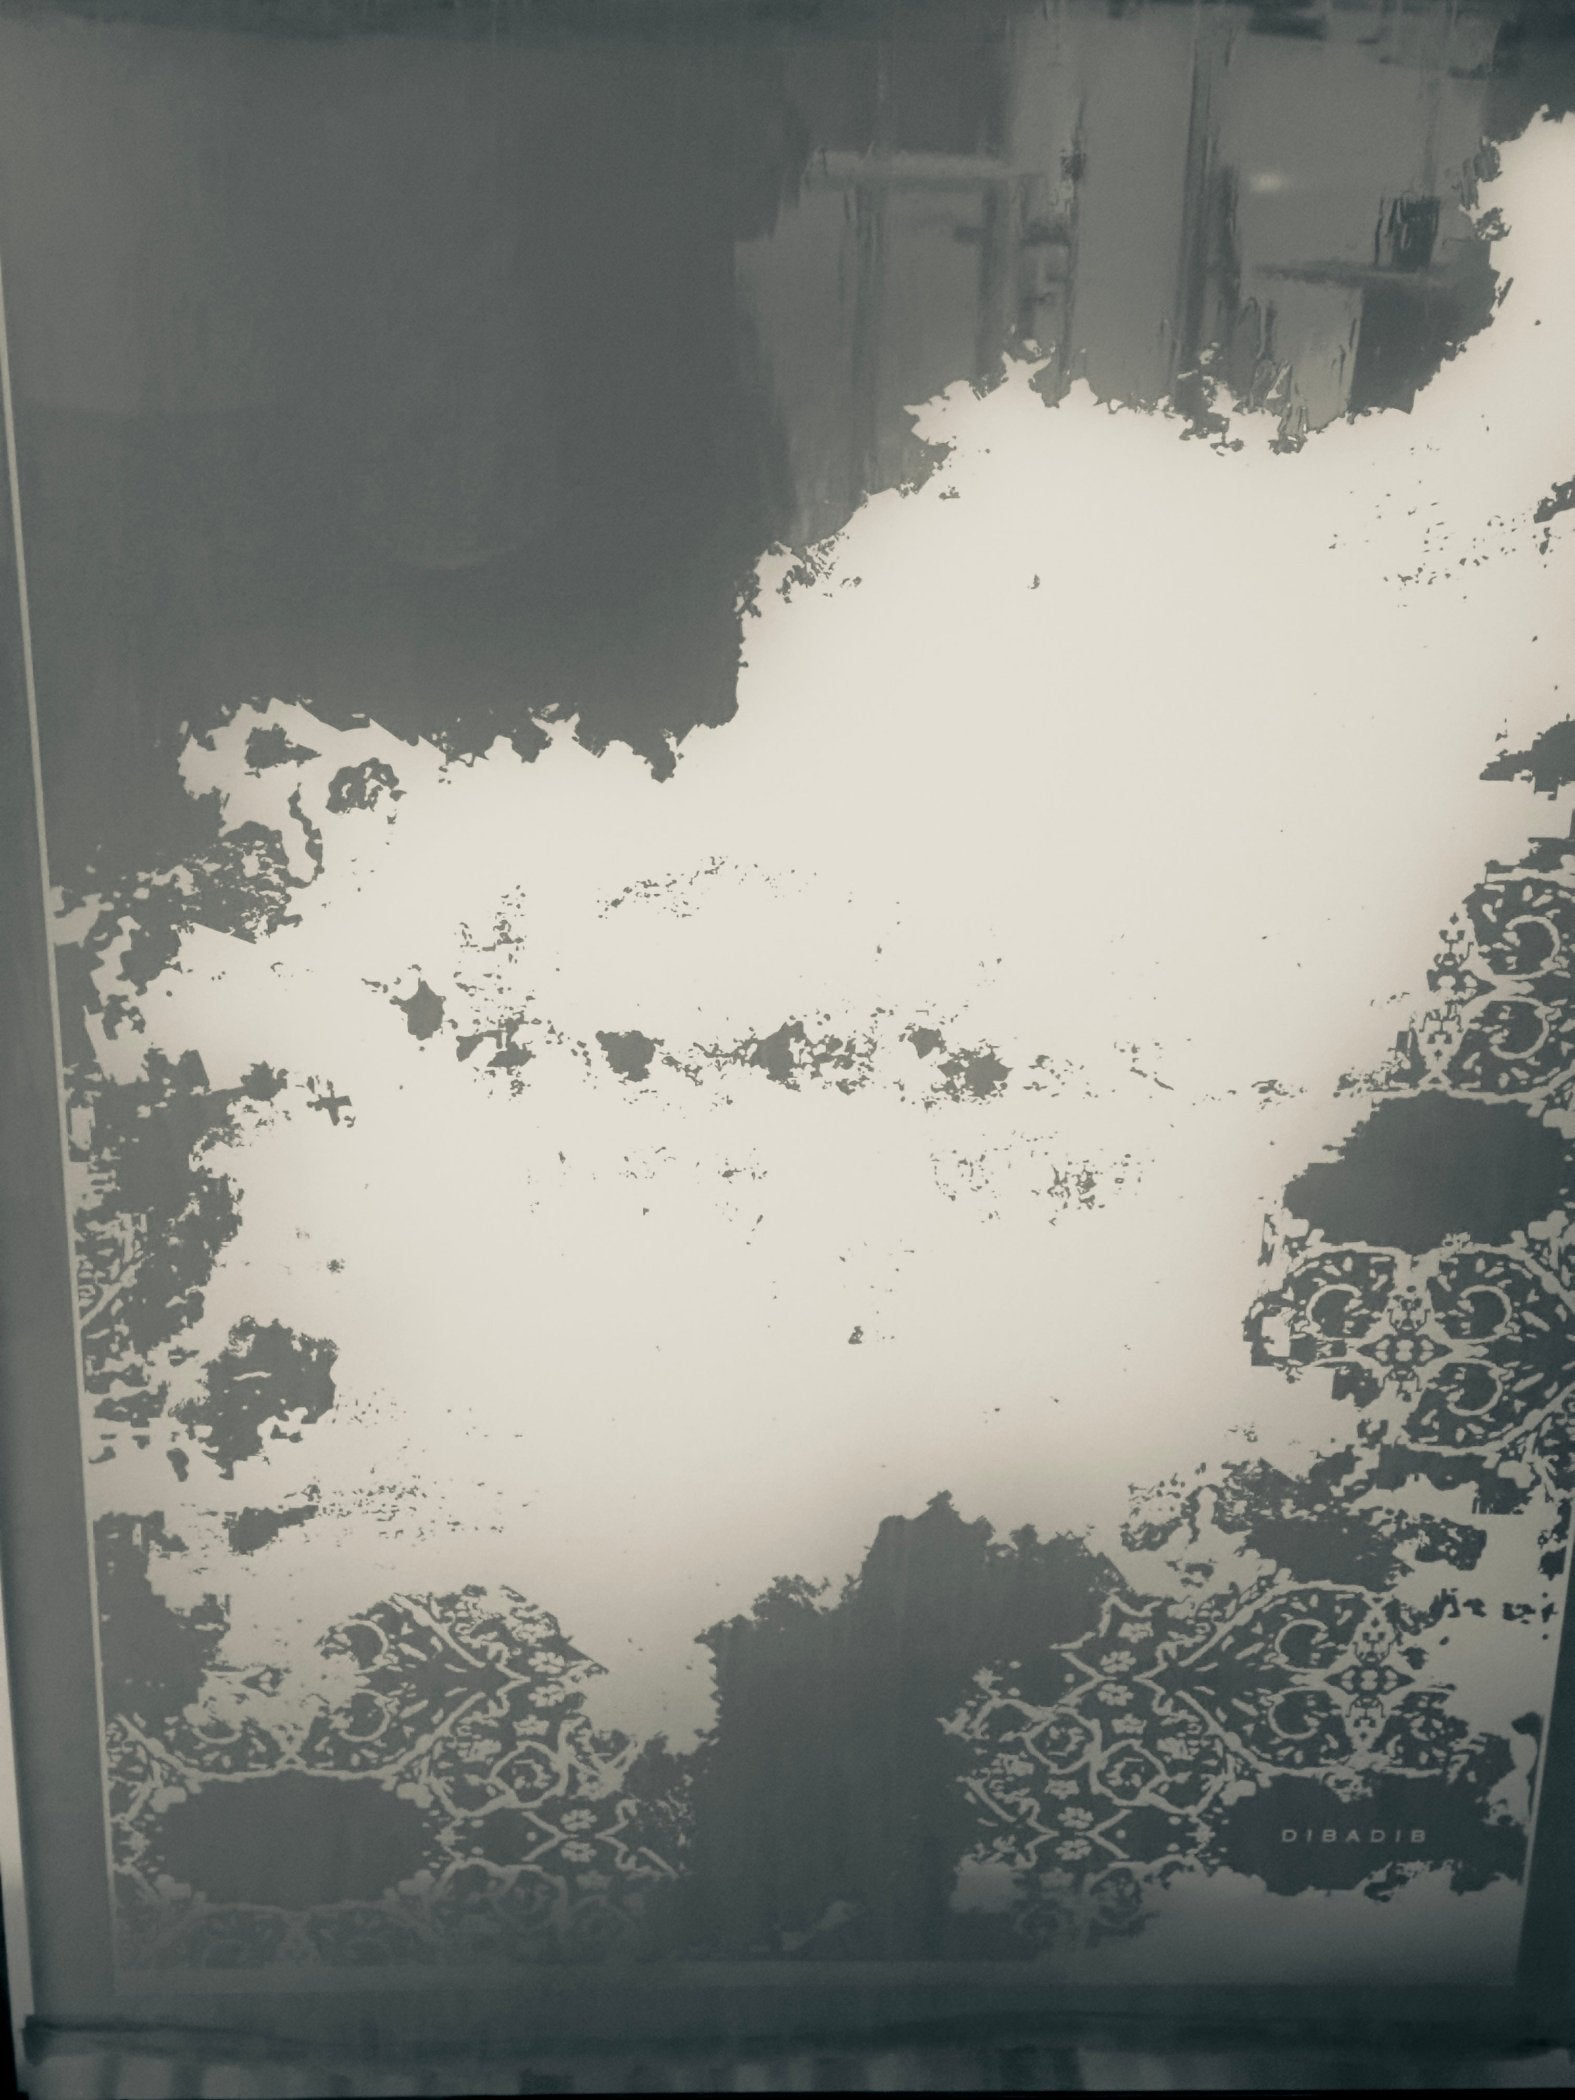
Washing Out the Design
Rinsing the exposed screen with water, washing away the softened emulsion in the areas where light was blocked. This step reveals the design as open spaces through which ink can pass.
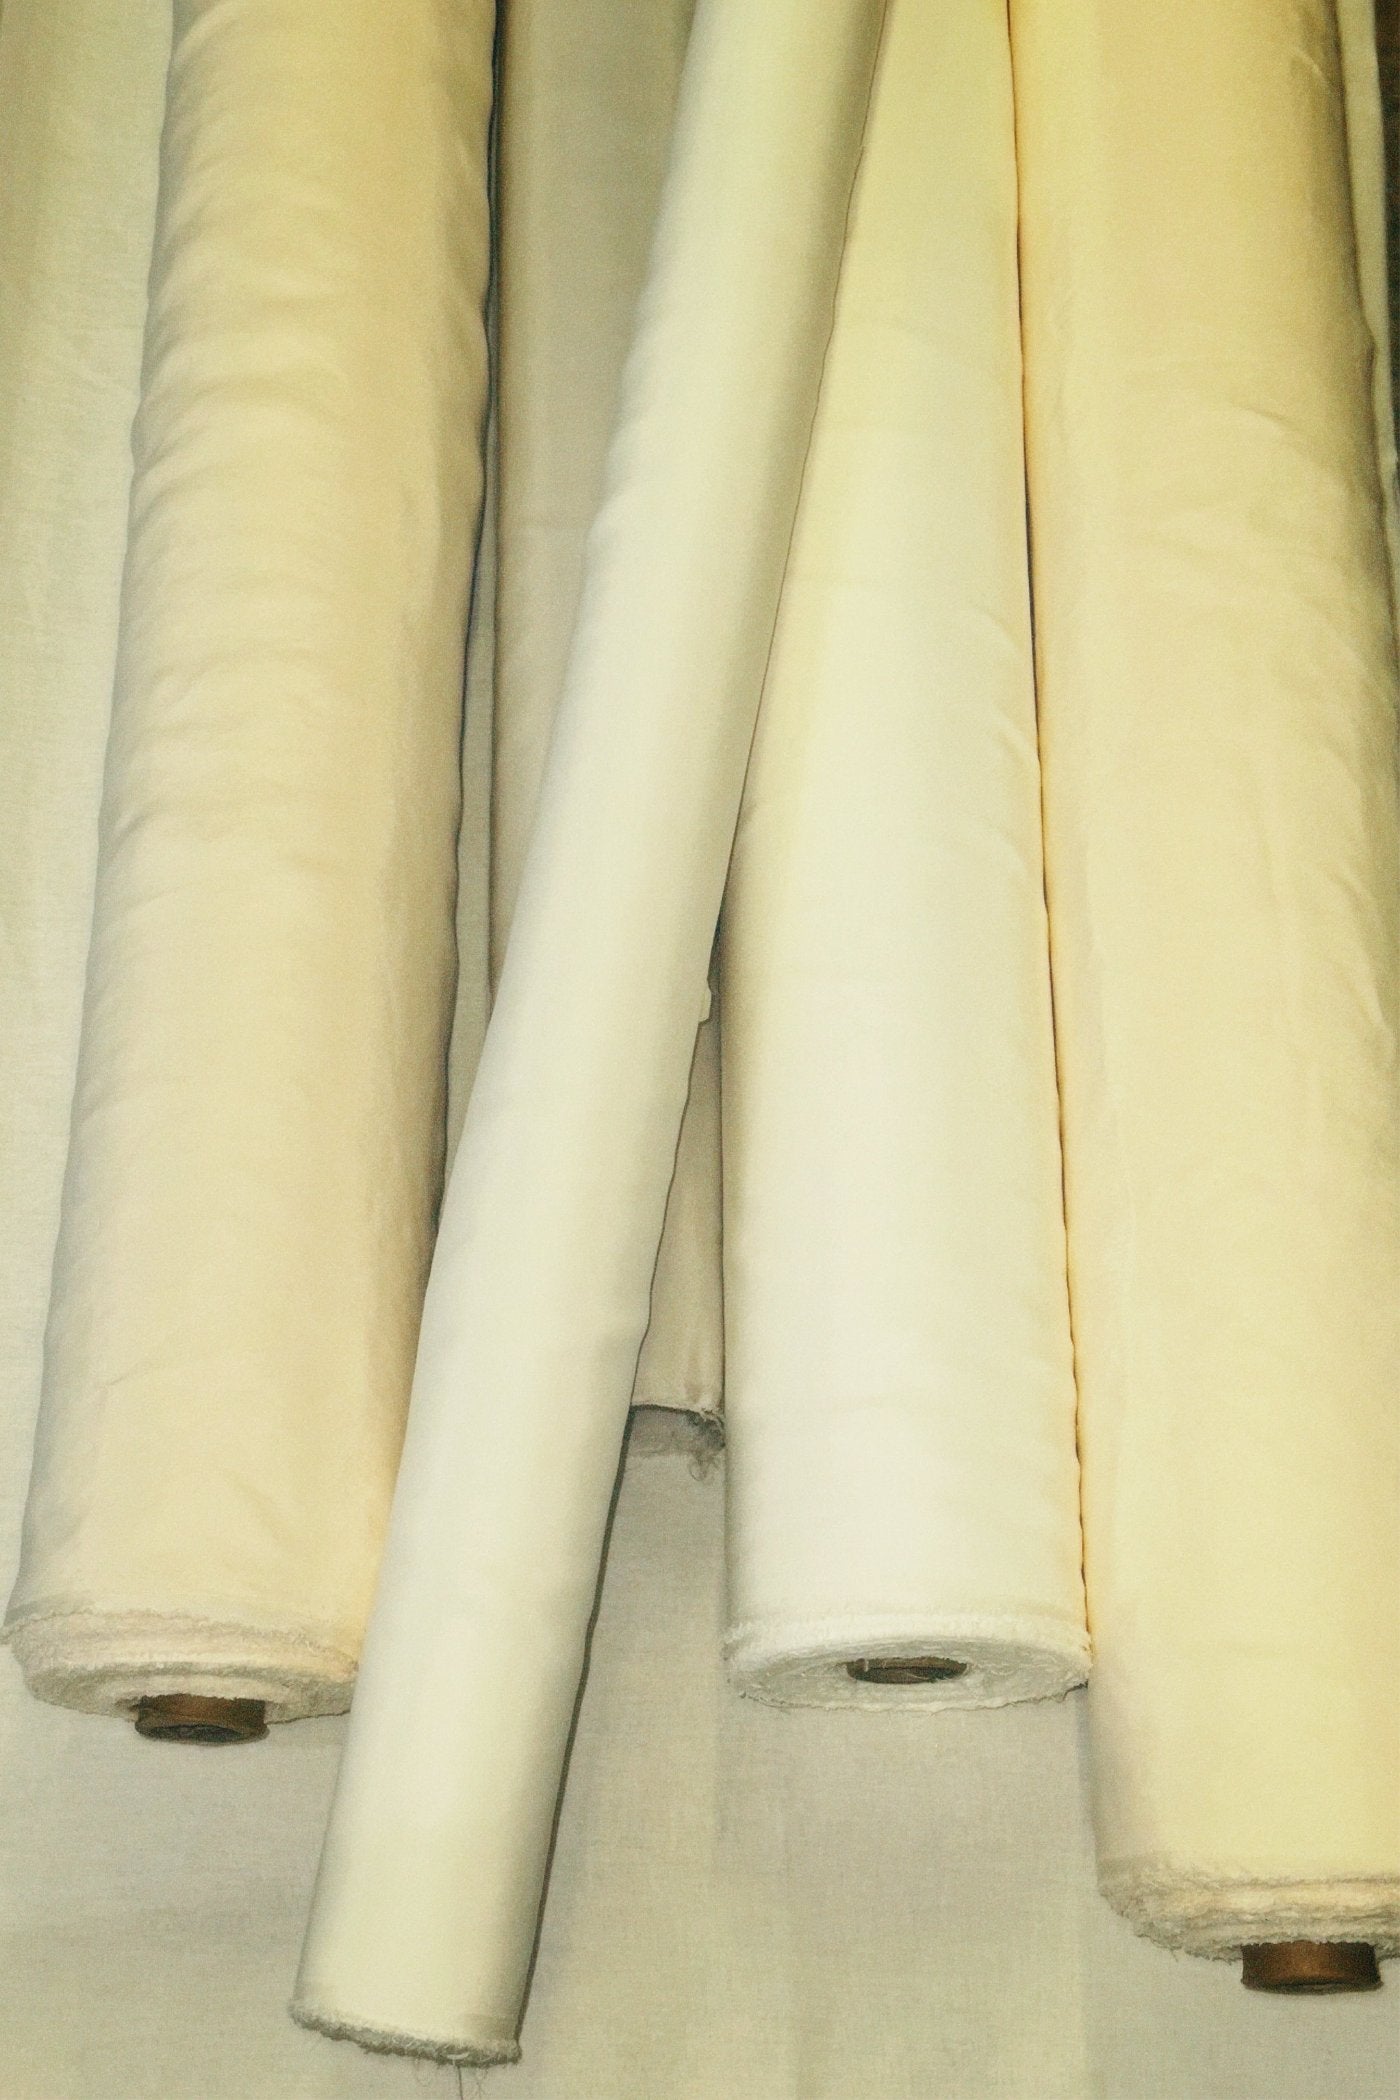
Silk Fabrics
Selecting the finest silk from China, custom-crafted to bring a uniquely soft, velvety elegance.
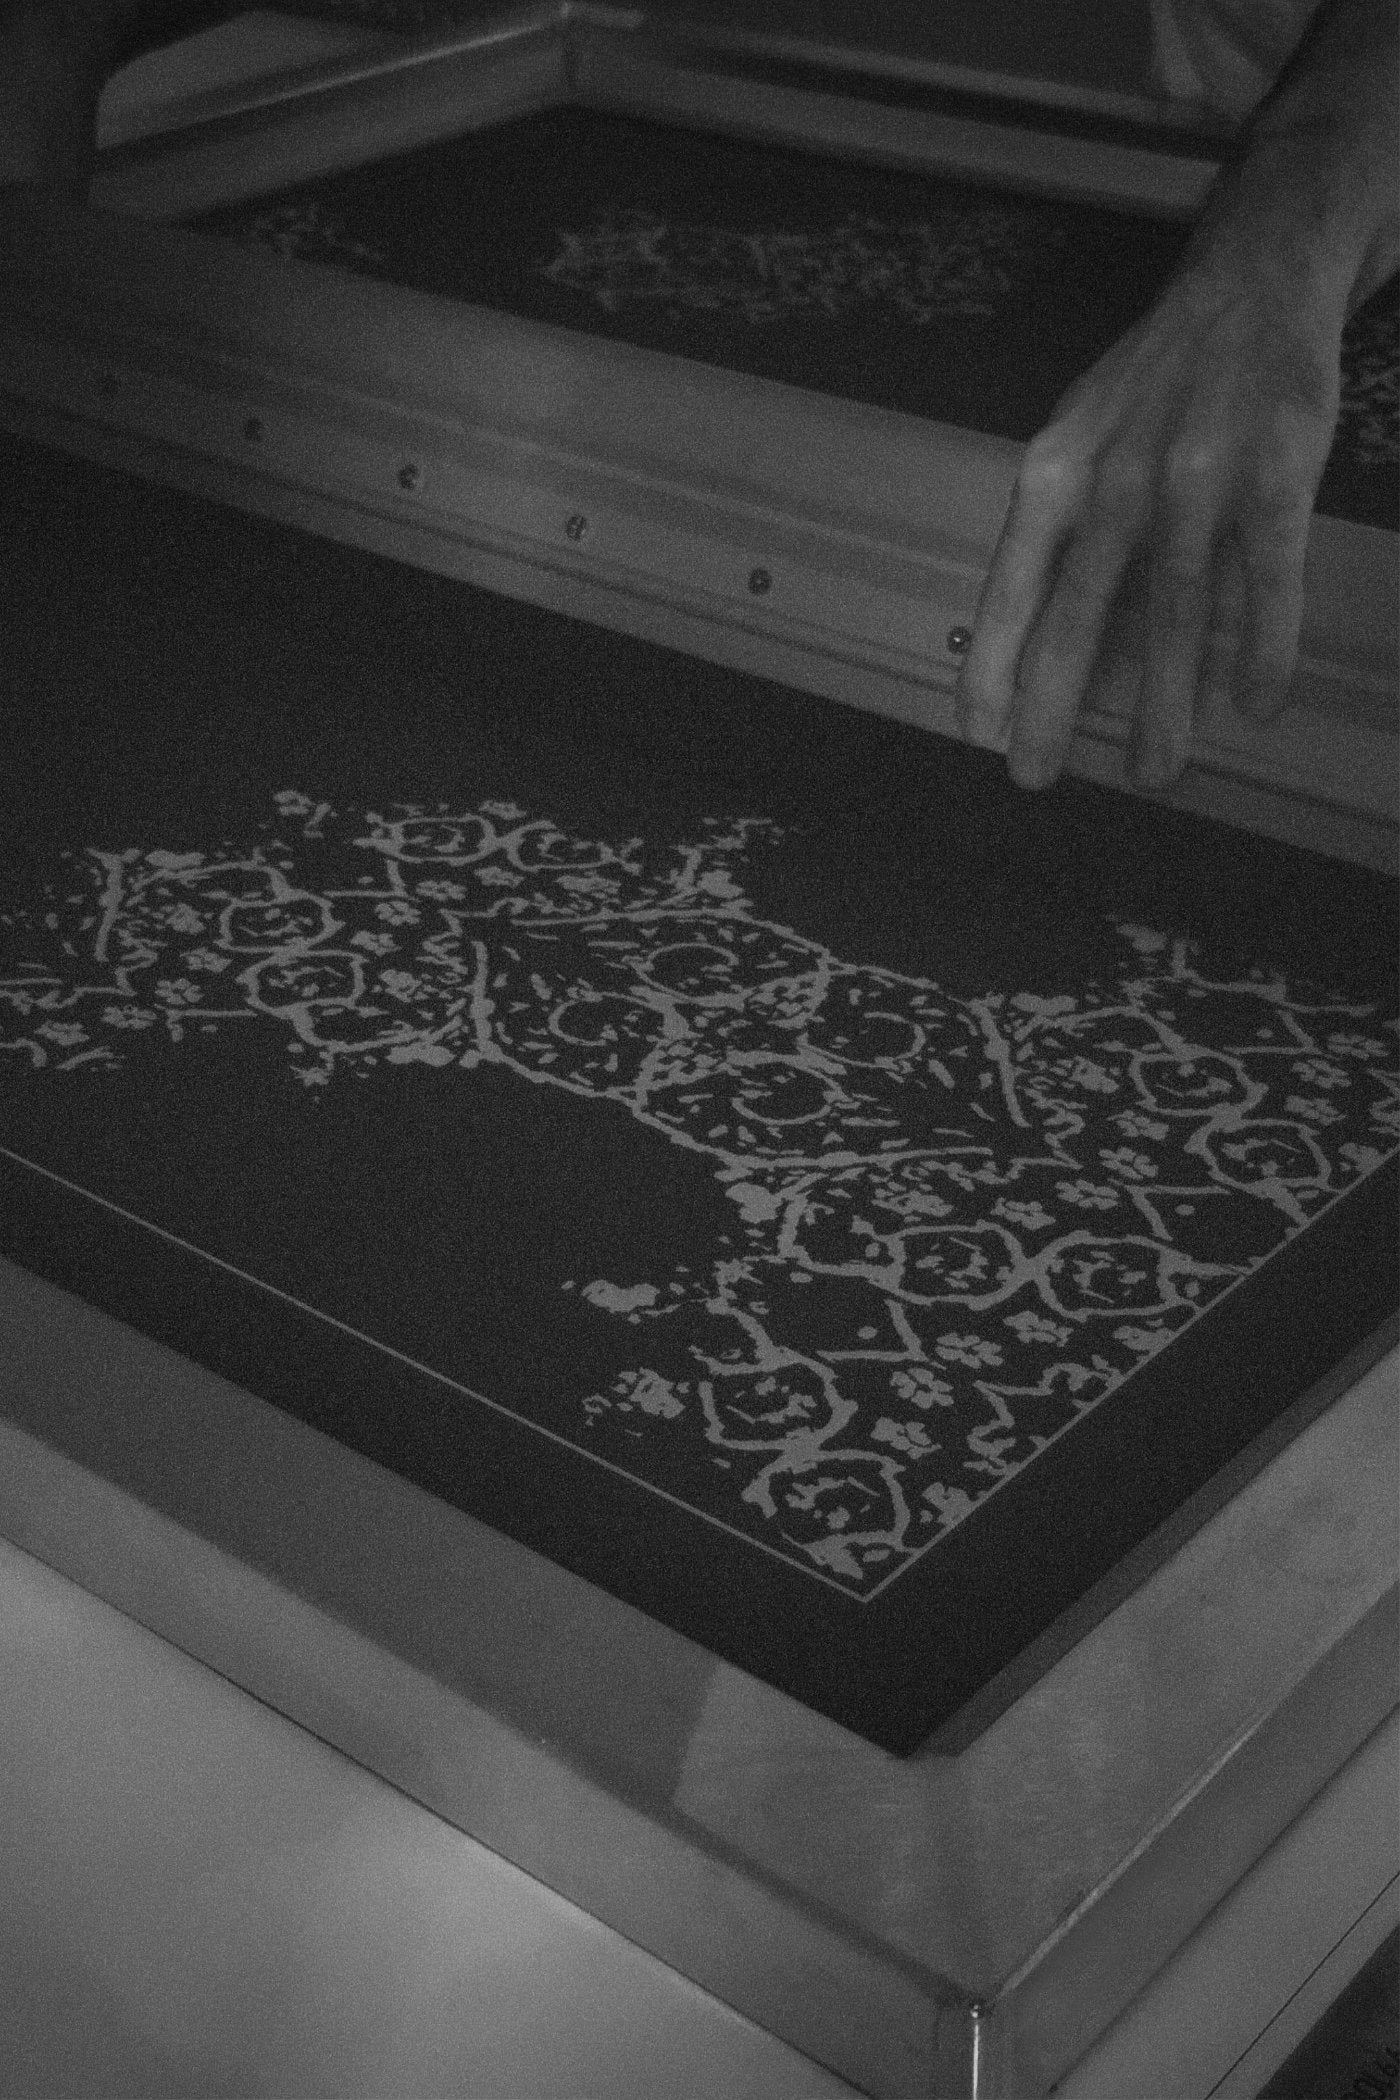
Hand Printing
Placing the ink on the screen and using a squeegee to press it through the stencil onto the Silk fabric by hand, achieving a consistent, high-quality print.
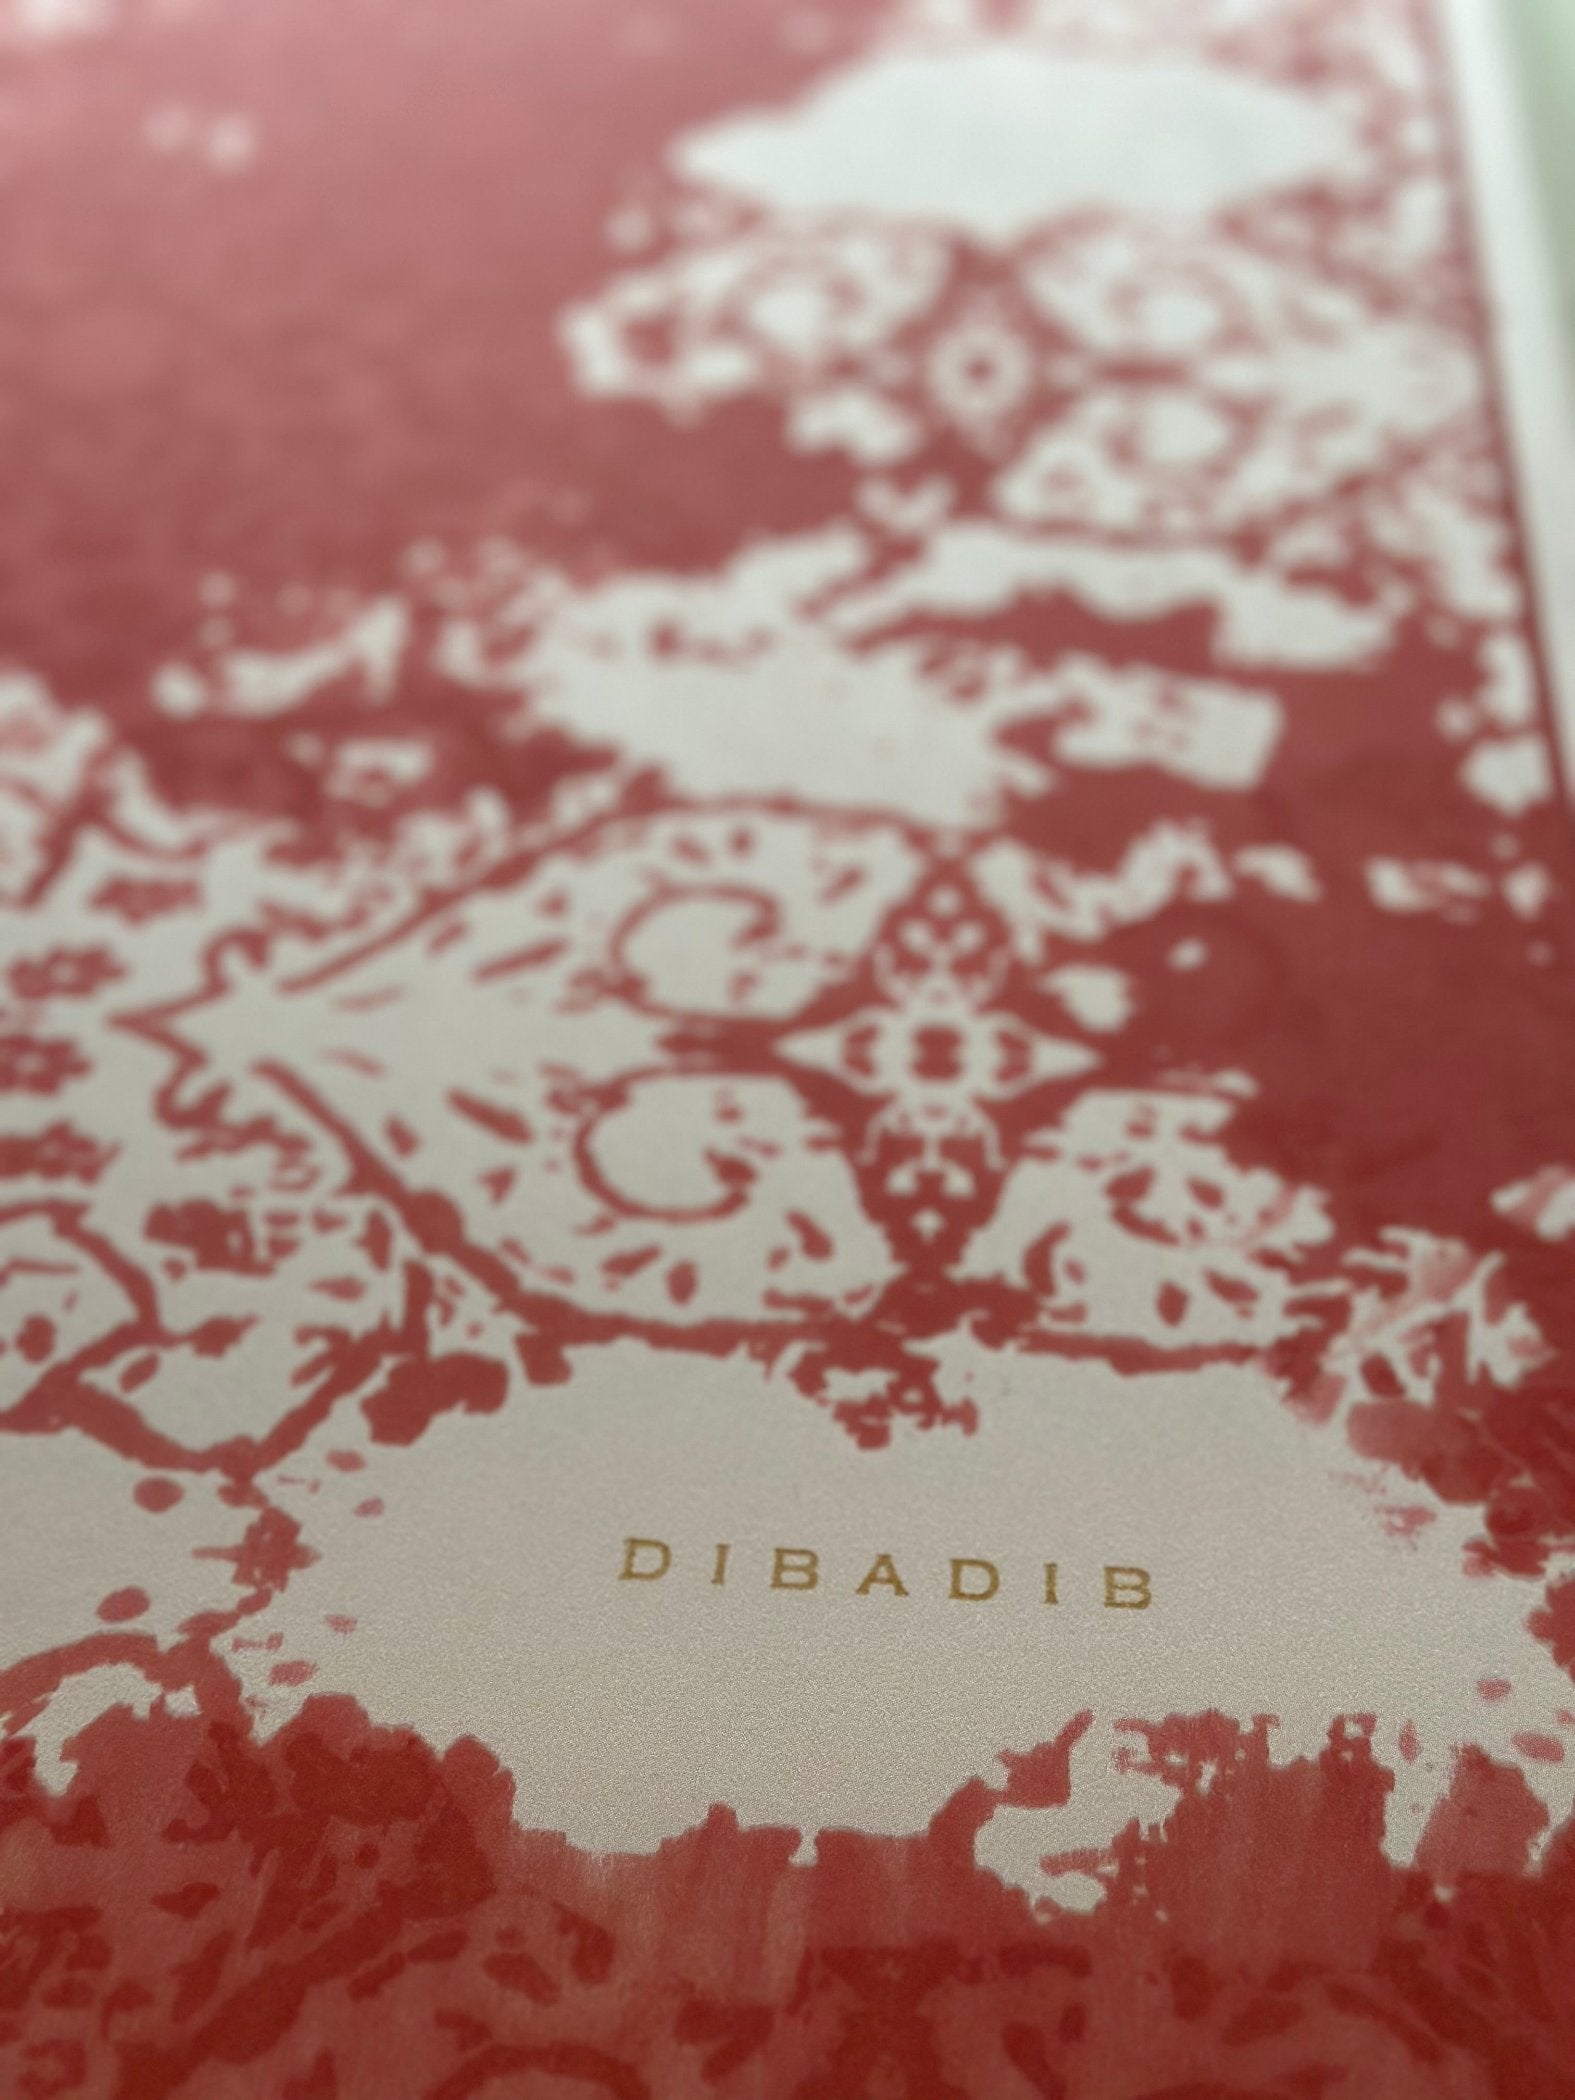
Print Quality Control
Inspecting the printed design carefully, checking for consistency, sharpness, and ink coverage. Any errors or inconsistencies are addressed before the final product is approved.
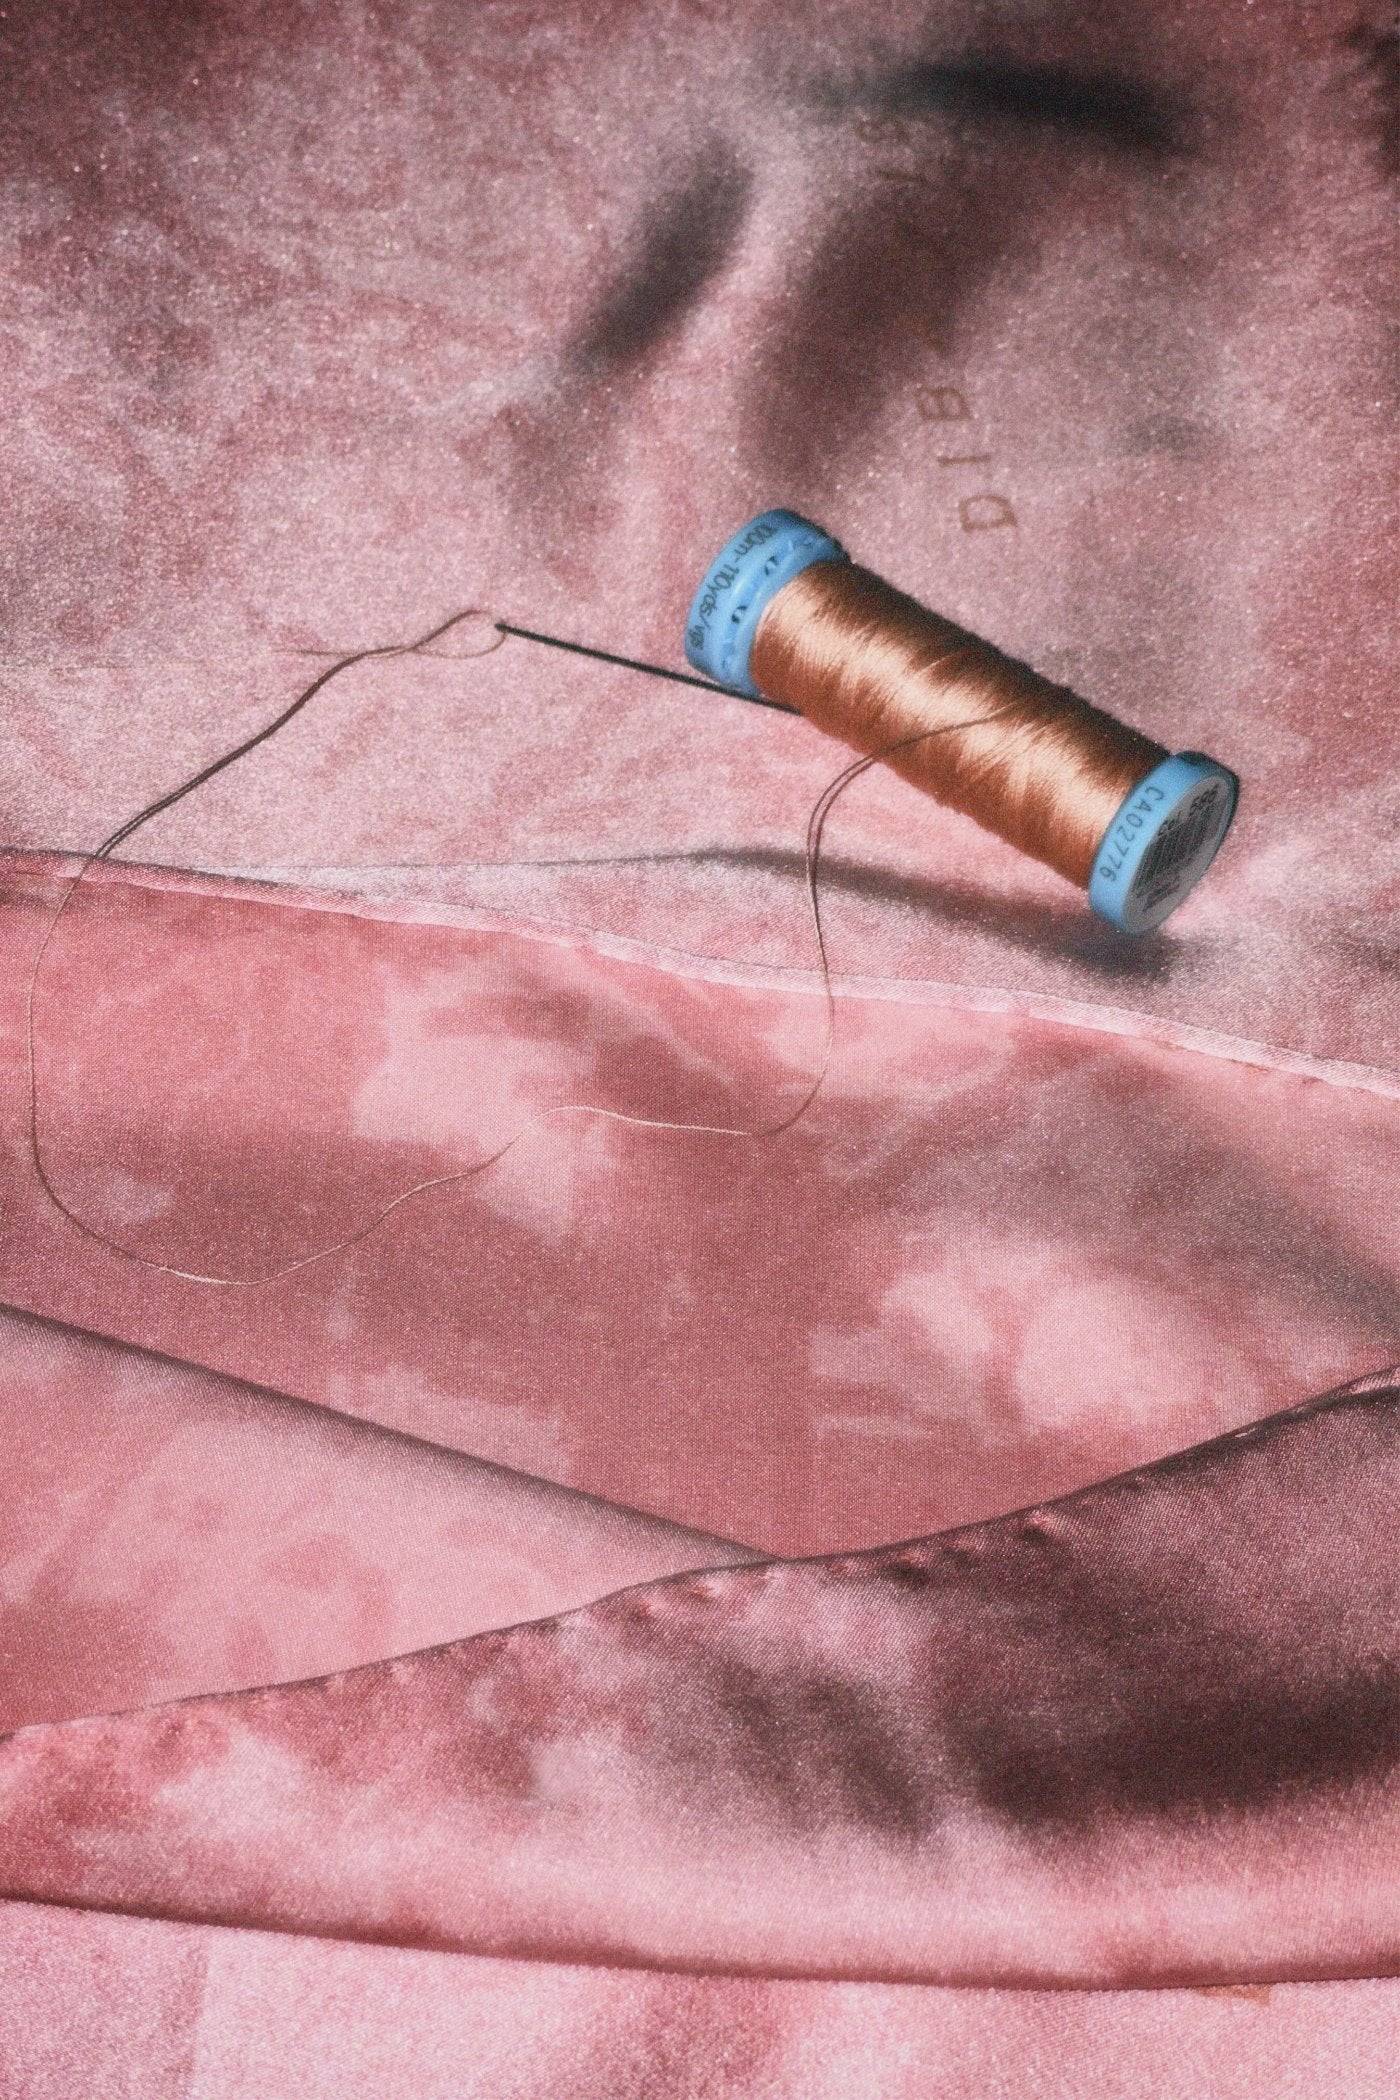
Hem Rolled by Hand with Silk yarn
Rolling the edges of the printed silk fabric by hand and finish them with silk yarn for a smooth, elegant hem, adding durability and a refined look to the product.


